
The fastest way to improve is simple: get obsessed with position first, then learn a few high-percentage finishes you can actually hit.
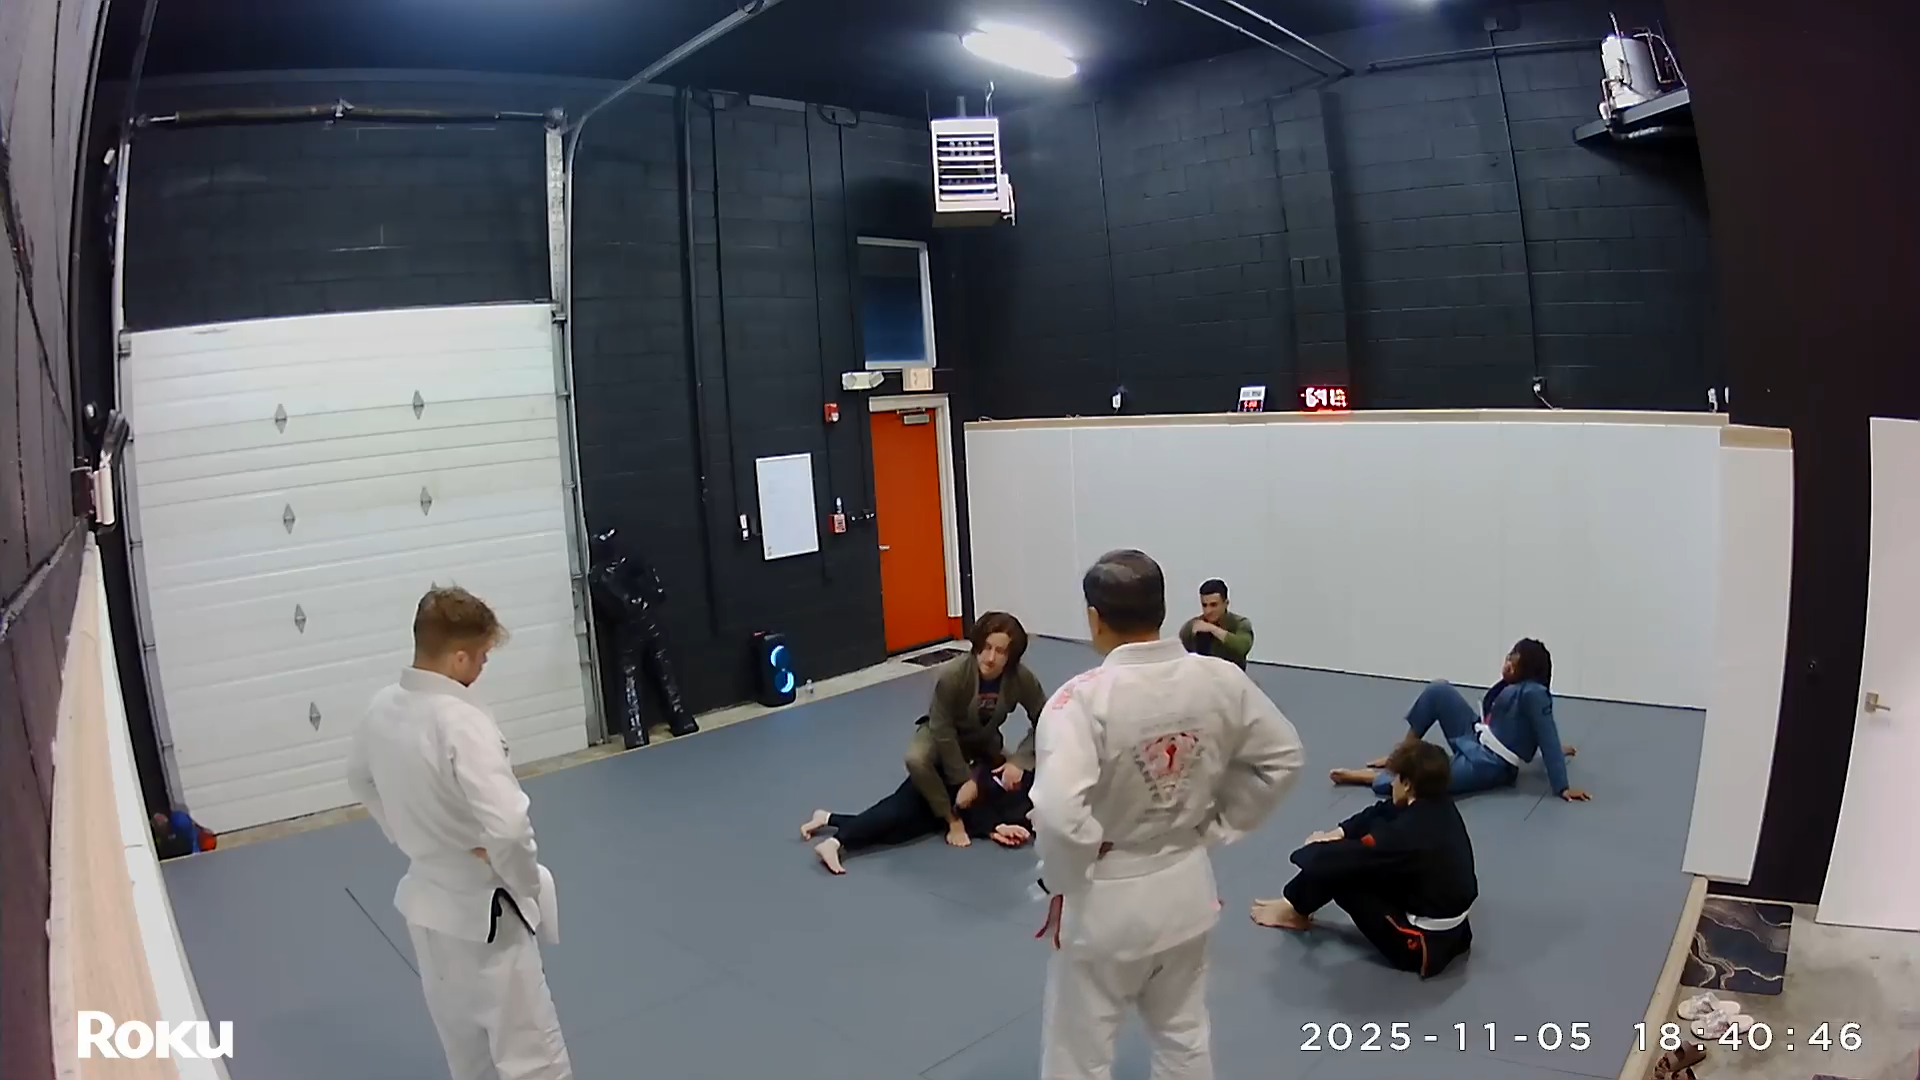
Starting Jiu Jitsu can feel like learning a new language while somebody keeps changing the alphabet. One class you’re trying to remember which way to shrimp, the next class you’re hearing words like underhook, frames, and back exposure, and it all happens fast. We get it, and we coach beginners through the same early fog every week.
Here’s the good news: you don’t need fifty techniques to make real progress in Brazilian Jiu Jitsu in Manalapan, NJ. You need a small set of fundamentals that show up constantly in live rounds, help you stay safe, and scale as you improve. Data backs this up too: armbars alone make up nearly 20 of submission attempts and land around half the time, which is a wild return on investment for one skill.
In this guide, we’ll walk you through the Jiu Jitsu techniques we want New Jersey beginners to master first, and how we teach you to build them from the ground up without rushing into risky, low-percentage chaos.
Why beginners in New Jersey should prioritize fundamentals over flash
The internet is full of highlight reels, but most beginners don’t quit because they lack cool submissions. Beginners quit because they feel lost, sore, and like nothing works. Only about 10 percent of white belts keep going long enough to progress, which means the real challenge is sticking around long enough to build competence.
Our approach is to make your early training predictable in a good way. We emphasize positions you can recognize quickly and tools you can rely on when you’re tired. That reduces panic and it also reduces injury risk, which matters because training injuries are common for newer students. The goal is steady progress, not surviving class by sheer willpower.
Fundamentals also match what wins at every level. Even at elite events, chokes dominate and position leads the way. When you train the basics in a structured way, you build a base you can use for self-defense, fitness, or competition without having to reinvent your game every month.
The beginner roadmap: master positions, then master finishes
Before we break down individual techniques, we want you thinking in a simple sequence: control, isolate, finish. If your finish fails, you should still be in a strong position. That’s the difference between a technique you can use in sparring and something that only works on a cooperative partner.
Here’s how we coach that sequence for beginners:
1. Win a stable position you can hold without squeezing for dear life
2. Use pressure, frames, and angles to isolate a limb or the neck
3. Finish with clean mechanics, then reset and repeat with control
4. If you lose the finish, return to position instead of scrambling
5. Add speed only after your movement stays consistent under fatigue
That might sound a little strict, but it’s actually freeing. You always know what you’re working on, and your rounds start to feel less random.
Technique 1: the armbar (the most attempted, one of the most successful)
If we could pick one submission for you to get decent at first, it’s the armbar. It shows up everywhere: from mount, from guard, off sweeps, during scrambles, and as a transition even when you don’t finish. It’s also statistically the most common submission attempt and lands at around a 50 percent success rate, which is rare in grappling.
What we want you to understand first
The armbar isn’t about yanking an arm. It’s about controlling the shoulder line, pinning the thumb direction, and using your hips as the lever. When beginners struggle with armbars, it’s usually because the opponent’s elbow slips below the hip line, or the knees aren’t tight enough to prevent rotation.
Beginner checkpoints we drill
We coach a few simple checkpoints until they become automatic:
- Your hips should be close to the shoulder, not drifting away
- Your knees pinch and your heels stay heavy, so the arm can’t spin free
- You finish slowly in training, keeping control the whole time
Once you start feeling those mechanics, your Jiu Jitsu improves fast because you begin to understand leverage instead of muscle.
Technique 2: rear naked choke (RNC) from back control
Back control is the closest thing to a “checkmate” position in Jiu Jitsu. You’re behind your training partner, your legs can control their hips, and their ability to strike or scramble is limited. That’s why the rear naked choke stays a top finisher across levels.
The real beginner skill: keeping the back
Most new students jump to the choke and lose the position. We teach you to value the ride first. If you can keep your hooks and stay glued to the back during movement, the choke becomes almost inevitable.
What we build in class
We focus on:
- Seatbelt control and switching sides as your partner defends
- Using your legs to follow their hip line, not squeezing randomly
- Hand fighting basics so you “earn” the neck safely
When you can maintain back control for even 20 to 30 seconds in live rounds, you start feeling the calm confidence that keeps people training long-term.
Technique 3: the triangle choke (and why your guard gets better with it)
Triangles are a beginner-friendly choke with a long runway for mastery. They work from guard, they punish posture mistakes, and they teach you angle creation, which is a core concept in Brazilian Jiu Jitsu in Manalapan, NJ where many beginners start from seated or closed guard positions during sparring.
Elite submission data consistently shows chokes dominating, and triangles remain a major part of that picture. For you, the triangle is also a guard development tool: even your failed attempts teach you how to break posture, control wrists, and climb your legs higher.
The triangle concept we want you to feel
A triangle is not just legs around the head. It’s a shoulder trap plus a neck squeeze created by angle. If you stay square, you’ll fight your own legs. If you cut the angle, it suddenly clicks.
Common fixes that unlock it
We spend time on a few key details:
- Breaking posture before shooting your legs high
- Controlling one arm in, one arm out
- Turning the corner so your hamstring does the choking work
And yes, your legs might shake the first few times. That’s normal. It’s new movement, and your body is figuring it out.
Technique 4: the arm triangle (a pressure choke that rewards patience)
The arm triangle is one of the best “big picture” techniques for beginners because it forces you to slow down and get clean. It also naturally connects to passing and top control, which are essential if you want to be effective against someone stronger.
Why this belongs early in your training
Arm triangles teach:
- Head and arm positioning
- Shoulder pressure and chest connection
- How to adjust angle without losing control
This is also a great technique for people who like a steady style. You don’t have to be explosive. You have to be correct.
Technique 5: straight ankle lock (useful, but keep your expectations realistic)
Leg locks are a huge topic, but for beginners, the straight ankle lock is often the first legal, approachable entry point, especially for no-gi and beginner rule sets where more dangerous leg attacks may be restricted. It’s also common for white and blue belts, even though success rates for beginners can be relatively low, around the high teens.
So why teach it early? Because it builds awareness. If you understand basic ankle lock mechanics and basic defense, you’re less likely to get surprised, and you can start learning leg positioning safely.
How we keep ankle locks beginner-safe
We emphasize:
- Clear rules for controlled finishing pressure
- Learning how to clear the knee line and when to stop
- Escapes that prioritize posture and distance, not frantic spinning
If you like leg attacks, we’ll still push you to build your guard passing and top control alongside them. That balance matters.
The hidden “technique” that accelerates everything: guard passing basics
If you only learn submissions, you’ll always feel like you’re chasing. Guard passing flips the script. When you can consistently get past someone’s legs and settle into a pin, you create time, control, and safer finishing opportunities.
This also matches high-level trends where top position leads to many finishes. For beginners, the benefit is even simpler: passing makes sparring less exhausting because you spend less time stuck in frames and grips.
What we prioritize for new passers
We don’t overwhelm you with twenty passes. We focus on principles:
- Posture first, so you don’t get pulled into breaking position
- Inside control, so your knees and elbows win the space battle
- Pressure and angles, so you pass without sprinting
In our martial arts in Manalapan, NJ environment, this is where you start feeling real improvement week to week, because passing is measurable. You either got past the legs, or you didn’t.
How long does it take to get “good” (and what good even means)
Most beginners want a timeline, and we respect that. On average, reaching blue belt is often around 2.3 years. Some people move faster, some slower, and honestly, life in New Jersey gets busy. The bigger point is that progress compounds when you train consistently and recover well.
We recommend most beginners start with two to three classes per week. If you can do more safely, great, but consistency matters more than occasional grind weeks. Many practitioners average around six hours weekly in more intense phases, but you don’t need to start there to make meaningful gains.
“Good” at Jiu Jitsu for a beginner usually looks like this:
- You can survive bad positions without panicking
- You can escape and recover guard with a plan
- You can hold top position long enough to attempt clean submissions
- You can recognize mistakes in real time and adjust
That’s a strong foundation, and it sets you up for the techniques in this guide to actually work against resistance.
Train smarter in your first six months to reduce injury risk
Grappling is physical, and injury risk is real. Studies show a high percentage of athletes report injuries over a six-month window, and newer students often get dinged up during training. We take that seriously because time off the mats is the fastest way to stall progress.
Here’s how we structure safer growth early on:
- We use positional sparring so you get reps without chaotic scrambles
- We coach controlled intensity, especially during your first few weeks
- We reinforce tapping early and finishing slowly, every time
- We teach you how to fall, frame, and breathe under pressure
- We encourage recovery habits that keep you training consistently
This is the unsexy part of Jiu Jitsu, but it’s what keeps you improving while others disappear after a month.
Take the Next Step
If you focus on armbars, triangles, rear naked chokes, arm triangles, ankle lock fundamentals, and guard passing principles, you’ll build a game that’s practical and repeatable. You won’t feel like you’re collecting moves. You’ll feel like you’re building a system, and that’s when training starts getting addictive in the best way.
That’s exactly how we coach beginners at Lucky Cat Grappling Co. Our classes in Manalapan are structured to help you understand why techniques work, not just copy steps, so you can walk into your next round with a plan and walk out with real progress.
New to Jiu-Jitsu? Start your journey by joining a Jiu-Jitsu class at Lucky Cat Grappling Co.